can light help you feel better?
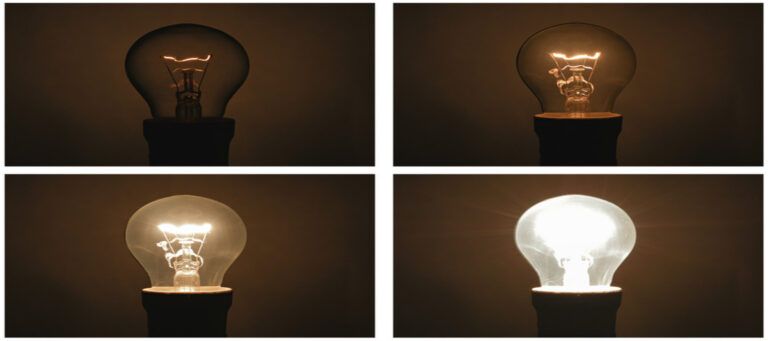
Can Light Help You Feel Better? The short answer is, Yes. But let’s dive in a bit deeper. It is a truth universally acknowledged that light properties and levels affect us as humans. And you’d probably be surprised at just how much! In lower, warmer lighting, we ready for sleep and